Showing posts with label Fabulous Flip Card. Show all posts

Sunday, August 28, 2022

Gabby's Dollhouse Fabulous Flip Card

  
I made this Thank You card to send to our daughter and her family after we stayed at their home earlier this month. Our granddaughter had a week free prior to starting kindergarten, so gramma and grampa got to spend lots of time with her. While there, we learned that her new favorite animated series is Netflix "Gabby's Dollhouse" about a young girl named Gabby, who magically shrinks in size to go on adventures with her cat friends.


Just for fun I wanted to try to recreate Gabby's Dollhouse using a card style similar to Sam Calcott's four shutter "Fabulous Flip" Card as the base.

I used Make the Cut Design Program and a coloring page image of the dollhouse to create a layered cutting file for the kitty roof. After watching Sam Calcott's video tutorial for her 6x6 Fabulous Flip Card assembly, I made a template with a similar mechanism for my card. I imagined each of the shutters to be windows of the dollhouse and added clipart from Etsy of the different characters onto the shutters.


As the frame on the front of the card is pulled to the left, the shutters swing open to reveal images of four more of Gabby's kitty friends and a sentiment underneath on the right.  Still having so much fun making these Fabulous Flip cards!

I also want to share these box cards and paper pieced princesses my granddaughter and I had fun working on together during our stay.


The castle box card is from the Box Card SVG Kit from SVG Cuts, the Box Card Ice Cream Truck is from the Lori Whitlock Store, and the princesses were paper pieced from Karen Burniston Princess and Mermaid die set. I had precut all the pieces and made kits with pictures of the completed projects. It felt so satisfying just sitting there, crafting with my granddaughter! Looking forward to the next time we can work on more fun projects together.

Sunday, July 17, 2022

Teddy Bears and Ice Cream

This card I made for my sister in law's birthday has two of my favorite things on it... teddy bears and ice cream! I decided I would try my take on the single window version of Sam Calcott's Fabulous Flip card again for this card.
 
Teddy bear and ice cream paper piecings for this card come from Cuddly Cute Designs' "Ice Cream Cuties" and "Ice Cream Bears" as well as Marjorie Ann Designs' "Patches the Bear Birthday" svg cut files. I used an old Cuttlebug embossing folder called "Juli's Garden" to add texture to the oval panel behind the teddy; and Lawn Fawn's "Happy Birthday Border" die for the die cut sentiment.


Pulling the frame on the front of the card to the left opens the card by allowing the panel inside the frame to flip open.

Sam Calcott's tutorial on creating this style of card using dies can be seen here. Instead of using dies, I created a template for a slightly larger version of her single window Fabulous Flip Card in Make the Cut Design Studio for my card. Sentiments were computer generated using Paper Flowers and Miss Elizabeth fonts and cut using the print and cut function and my Silhouette Cameo.

I really enjoyed making this card, and especially paper piecing all the yummy ice cream images!   As much as I love ice cream, I can't have it as often as I'd like anymore but luckily, making paper pieced versions of the cool treats seems to keep me happy!


Monday, July 4, 2022

Like Coffee and Donuts...

A few months ago I had the chance to get together with two very special crafty friends to share make and take crafty projects. I put together kits to make this coffee themed card as one of my projects to share.
 

Marjorie Ann Designs cutting files "Morning Coffee" and "We Go Together Like Coffee and Donuts" were used to create all the paper pieced images for this card.
For this card project, I wanted to try a different version of the Fabulous Flip Card style. In her video tutorial for the Fabulous Flip Cards, Sam Calcott of Mixed Up Crafts explains how the two panel die cut card can be trimmed in half to create a smaller single panel one. 

I wanted to give the single panel version a try, but decided to enlarge my svg template for a larger, 4.25 x 5.5" sized card instead. Similar to the double panel Fabulous Flip card, pulling the frame to the left flips the front panel to open the card.


Although this version  of the Fabulous Flip card may not be as "fabulous" as the original double panel version, I thought it still turned out pretty neat.

The best part is that with one less panel to decorate and embellish, this card does come together a lot quicker. There is also a 4 panel/window version for a 6 x 6" square card that seems to work well with smaller images and photographs. Thinking I may have to give that one a try one day too!

Sunday, June 26, 2022

Hello Kitty Fabulous Flip Card

I have another Fabulous Flip card to share as I continue to be fascinated by the swing mechanism on this style of card.

This time I made a Hello Kitty themed birthday card for a sweet friend who is a fan of Sanrio cuteness. I selected images from my collection of Hello Kitty coloring books and rendered them into cutting files to create the whimsical scenes for this card.


After watching Sam Calcott's video tutorial on the assembly of her Fabulous Flip cards, I created a working template in Make the Cut for a similar 5 x 7" double framed card. Pulling the tab on the left side of the card pulls the frame up and to the left while swinging the panels underneath to open.

Here's the "inside" of the card with the panels flipped open. 

I've been having fun using this Fabulous Flip mechanism to create scene type cards. It does take a little extra time planning and sizing everything to fit but I've been staying with simple scenes and paper piecing so it's been fun.

On the backside of the card, I added a pocket so I could include a gift card. I used a cute Hello Kitty sticker from my stash to make a simple matching gift card holder.


Sunday, June 12, 2022

Fabulous Flip Birthday Card

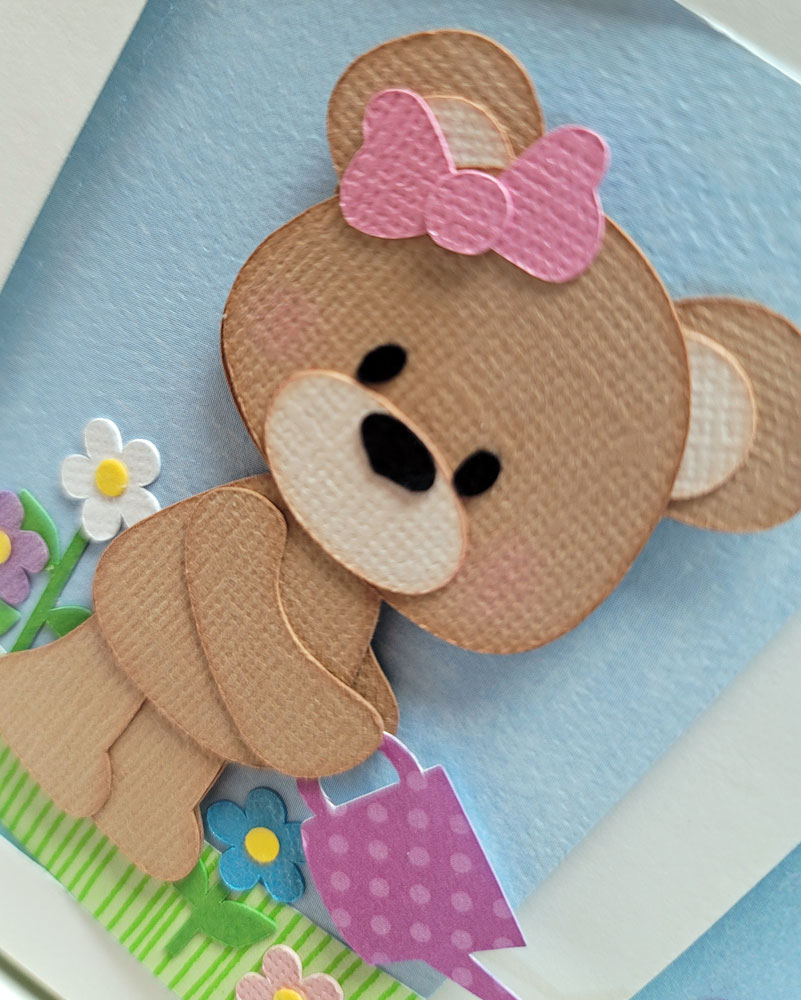
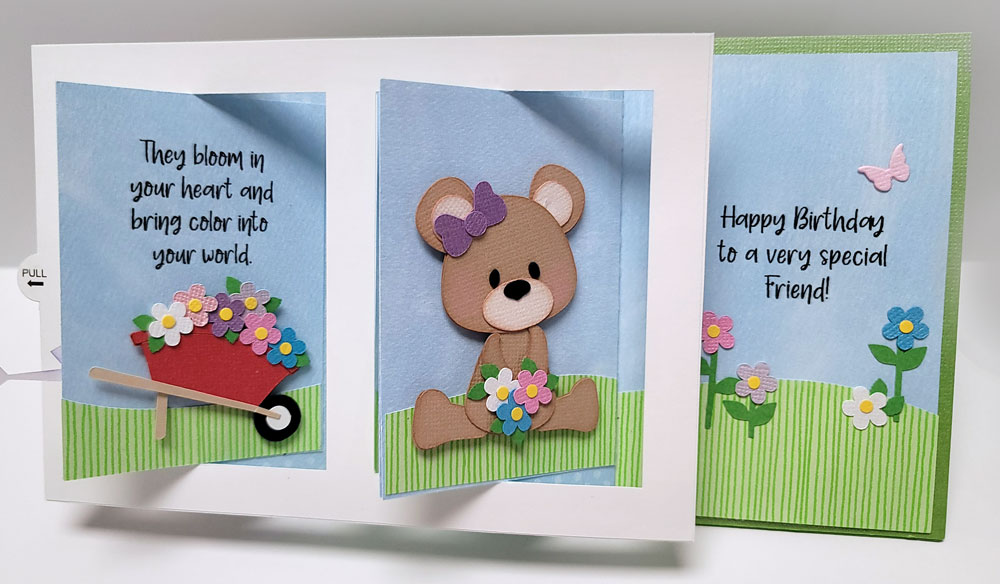
With my mind set on putting together a gardening themed birthday card for a dear and close friend, I thought the Fabulous Flip card style I recently learned how to make would provide the perfect template.
 

I started by cutting the pieces for the flowers and gardening bears on my Silhouette, using the "Take Time to Smell the Flowers" cutting file from Marjorie Ann Designs. 

After inking and paper piecing everything together, I built my scene onto the double panels on the front of the card. Background panels with sentiments were made using the Print and Cut function.


I followed Sam Calcott's Fabulous Flip Card video tutorial to assemble this fun interactive card.
As the frame of the card is pulled to the left, the two front panels "flip" open to reveal their backside.


Inside, I added another paper pieced teddy. more flowers and a wheelbarrow from Marjorie Ann Designs' "Everything Grows With Love"  SVG cut file.

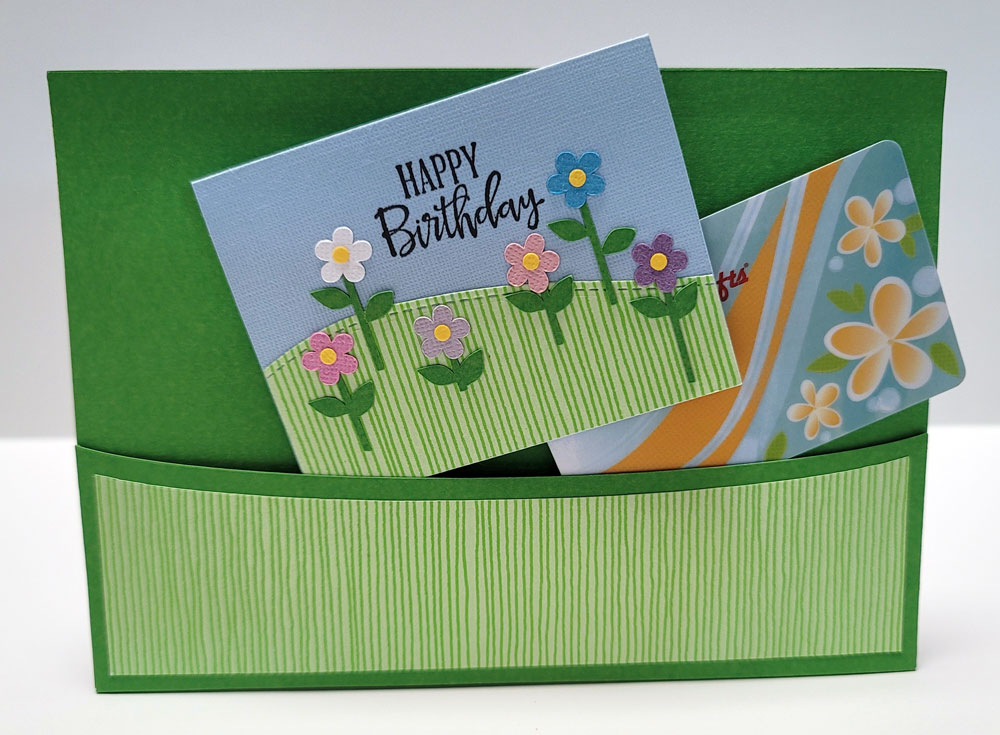
To finish, I made a simple gift card holder decorated with more flowers and created a pocket on the back of the card to hold it. 
I'm enjoying making cards using this double swing style of mechanism. There's also a single frame style as well as a shutter style version that I've been experimenting with and will share in a future post.

Sunday, April 17, 2022

Sending Easter Love Across the Miles

Happy Easter! I have several Easter projects to share so I'll be sharing the card and lollipop holder project we sent our granddaughter today and post the rest of the projects later this week.
Our Easter card for our granddaughter was inspired by Sam Calcott's video tutorial on You Tube for her Fabulous Flip Cards.
 
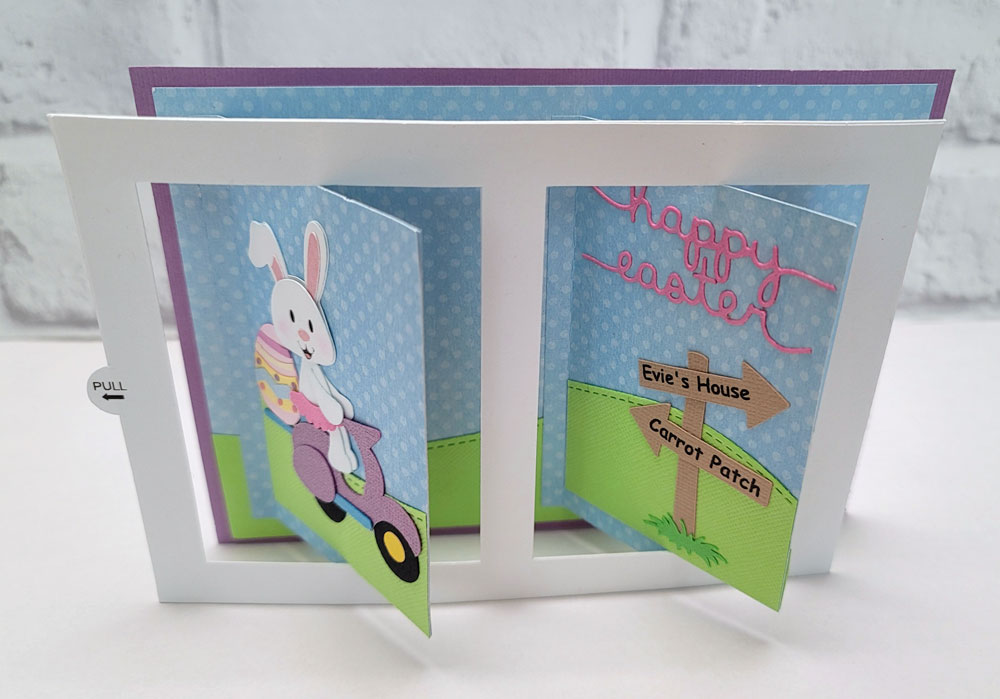
I used the adorable bunny cutting files from Marjorie Ann Designs "Bunny Patch" to decorate the first panel on my card. I thought the bunny on the scooter was so cute! Then I added a colorful egg from My Scrap Chick "Easter Chicks Bundle" to the back rack of the scooter for Miss Bunny to deliver. 

On the second panel I added a personalized road sign so Miss Bunny would know where to deliver her decorated Easter egg. "Happy Easter" was die cut from "Easter Border Die" and grassy background from "Stitched Hillside Borders Die", both from Lawn Fawn.

Here's the fun part of this interactive card; pulling on the tab on the left of the frame pulls the double frame forward and to the left...
.... while swinging the two front panels open!

Retired dies "Easter Basket" and "Bunnies and Chicks" from Sizzix were used to create the Easter scene on the inside panels. I really like the fun and dramatic movement of this swing-type card and am looking forward to  making this often. 

A week prior to Easter, I put together a mini craft kit to make these lollipop holders to send to our granddaughter. 

I used My Scrap Chick's "Bunny Sweet Treat Belly" file to cut all the pieces and mailed them together with  this instruction sheet and enough ribbon, tape, and lollipops  to make ten lollipop holders.


Our granddaughter is at the age where she thoroughly enjoys playing with crayons, scissors, paper and glue. (Just like gramma!) But being that she lives many ocean miles away we aren't not able to play together as much as we'd like so I decided to make and send her crafting kits so she can get creative and play just like she would if we could be together. Hope she had fun putting these together and sharing with her friends!