Sunday, June 26, 2022

Hello Kitty Fabulous Flip Card

I have another Fabulous Flip card to share as I continue to be fascinated by the swing mechanism on this style of card.

This time I made a Hello Kitty themed birthday card for a sweet friend who is a fan of Sanrio cuteness. I selected images from my collection of Hello Kitty coloring books and rendered them into cutting files to create the whimsical scenes for this card.


After watching Sam Calcott's video tutorial on the assembly of her Fabulous Flip cards, I created a working template in Make the Cut for a similar 5 x 7" double framed card. Pulling the tab on the left side of the card pulls the frame up and to the left while swinging the panels underneath to open.

Here's the "inside" of the card with the panels flipped open. 

I've been having fun using this Fabulous Flip mechanism to create scene type cards. It does take a little extra time planning and sizing everything to fit but I've been staying with simple scenes and paper piecing so it's been fun.

On the backside of the card, I added a pocket so I could include a gift card. I used a cute Hello Kitty sticker from my stash to make a simple matching gift card holder.


Sunday, June 19, 2022

Puppy Hugs Birthday

Here's the card I made to send to my niece for her birthday this year. Just for fun, I had asked for a photo of her new puppy to see if I could create a paper pieced likeness of the pup to add to her card.
 
I used Marjorie Ann Designs "Love Me, Love My Shih Tzu" svg file to cut the pieces for the dog,  adding color with Copic pens and a chalk ink pad to try to match the markings of my niece's pup. Using print and cut function and Christie font, the word "Celebrate!" was added to her bone. I used a Spellbinders Nestabilities Lacey Circle die and an old Sizzix embossing folder for the round frame behind the puppy.

Inside, I used the Flash Pop Up Card mechanism for a fun pop up surprise. As the recipient opens the card, two "flash cards" appear from behind a panel on the right and swing towards each other. Video tutorial for this Flash Card mechanism by Srushti Patil can be found here.

To decorate the inside of the card, I aded another paper pieced puppy and used Kadoodle Bug Designs "Happy Birthday Cat" svg file for the cupcake. 

 
I'm starting to add pockets to the backside of many of my cards lately. I like that it gives me a place to tuck in a gift card or a handwritten note, and find that it also adds sturdiness to the card, which often helps a lot of pop up mechanisms work more smoothly.

Before I go, I wanted to share the photo of my niece's adorable little puppy which I used to recreate her image in paper. How'd I do?


Sunday, June 12, 2022

Fabulous Flip Birthday Card

With my mind set on putting together a gardening themed birthday card for a dear and close friend, I thought the Fabulous Flip card style I recently learned how to make would provide the perfect template.
 

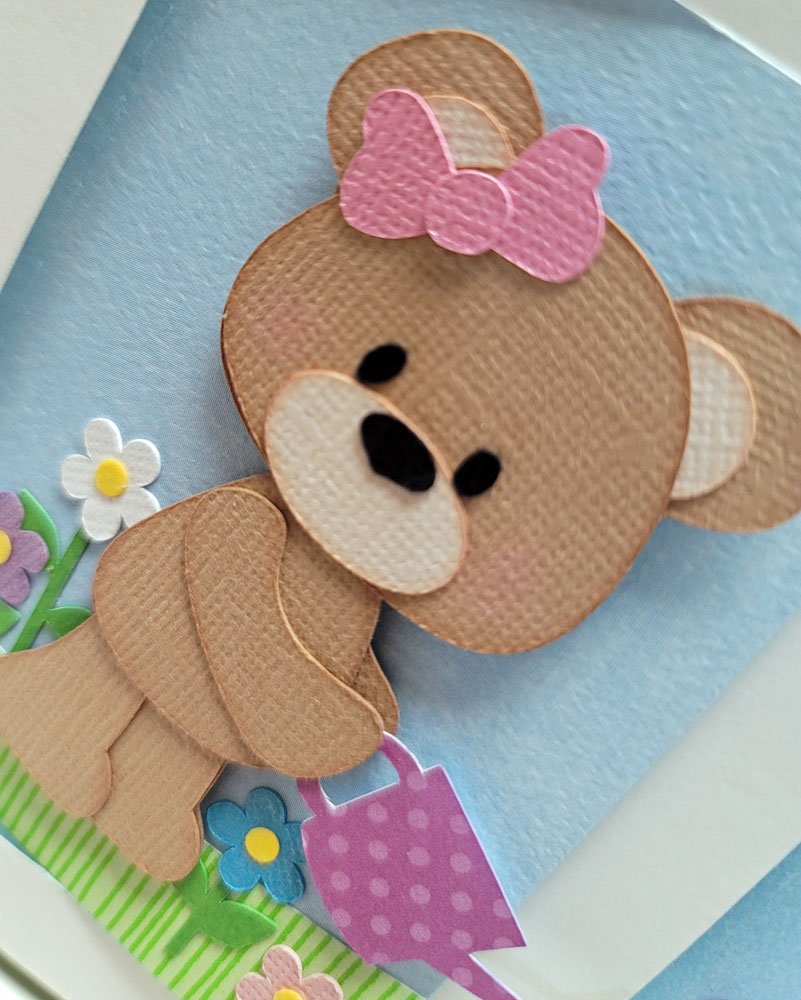
I started by cutting the pieces for the flowers and gardening bears on my Silhouette, using the "Take Time to Smell the Flowers" cutting file from Marjorie Ann Designs. 

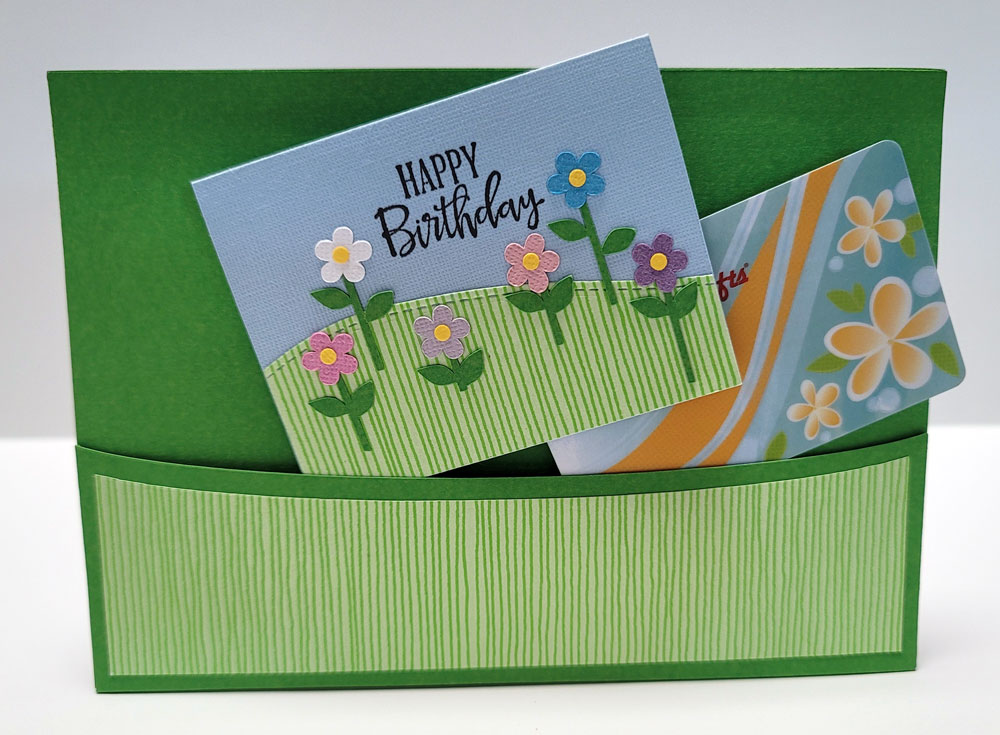
After inking and paper piecing everything together, I built my scene onto the double panels on the front of the card. Background panels with sentiments were made using the Print and Cut function.


I followed Sam Calcott's Fabulous Flip Card video tutorial to assemble this fun interactive card.
As the frame of the card is pulled to the left, the two front panels "flip" open to reveal their backside.


Inside, I added another paper pieced teddy. more flowers and a wheelbarrow from Marjorie Ann Designs' "Everything Grows With Love"  SVG cut file.

To finish, I made a simple gift card holder decorated with more flowers and created a pocket on the back of the card to hold it. 
I'm enjoying making cards using this double swing style of mechanism. There's also a single frame style as well as a shutter style version that I've been experimenting with and will share in a future post.

Sunday, June 5, 2022

Picture Perfect Birthday

Had a fun idea in mind for a card that I had been wanting to try for my dear friend Kris' birthday. Since I know she likes Sanrio characters, I searched online for an image of Hello Kitty with a camera for the front of my card.

With the help of Make the Cut Design program, the Hello Kitty image was rendered into a cut file. Paper pieced image was adhered to a panel which had been dry embossed using Cuttlebug "Wicker Weave" embossing folder.  Cut file for the word "smile!" was created with Miss Elizabeth font, then cut twice and layered for dimension.


Inside the card, I used Karen Burniston's Photo Collage Pop Up mechanism to create this fun collage of Sanrio characters. Images were printed on glossy photo paper and framed in mini polaroid frames cut using dies included in the Photo Collage Pop Up die set.

I used Miss Elizabeth font again to make the cutting file for "happy birthday kris" and attached it to the  "photo" of Hello Kitty so it would swing and pop up together with the rest of the photos.

I'm thrilled that I've been having more fun with these collage mechanism dies than I had anticipated. There are a few more very creative ideas using these dies that others have shared online that I'm looking forward to trying soon!